Choosing the best golf cart coilover shocks in 2026 requires more than comparing prices or polished product photos. Global buyers need dependable fitment, controlled damping, suitable spring rates, and clear technical support. A shock that feels firm on a smooth driveway may become harsh on broken pavement, loose gravel, or uneven resort paths.
Suspension engineer and author John C. Dixon offers a useful principle: “Good suspension design controls wheel movement without sacrificing tire contact.” That idea guides this comparison. The strongest golf cart coilover shocks should keep the tires planted while limiting bounce, body roll, and repeated bottoming. Look for precise mounting dimensions, corrosion-resistant bodies, quality bushings, and adjustment ranges that match the vehicle’s weight.
Small details matter. A two-seat cart and a lifted four-seat cart do not need identical springs. Added batteries, rear seats, cargo boxes, and all-terrain tires can change the load dramatically. Measure the ride height. Check the eye-to-eye length. Confirm clearance around the frame and tires.
Some products claim universal compatibility. That wording deserves caution. Real-world installation can still require spacers, revised hardware, or careful preload adjustment. Even experienced buyers can miss this point.
Testing should include braking, cornering, rough surfaces, and loaded driving. Comfort matters, but stability matters more. This guide evaluates leading 2026 options for international buyers, including performance, durability, installation, availability, warranty clarity, and after-sales support. No single model wins every application. The right choice depends on the cart, terrain, climate, and honest expectations.
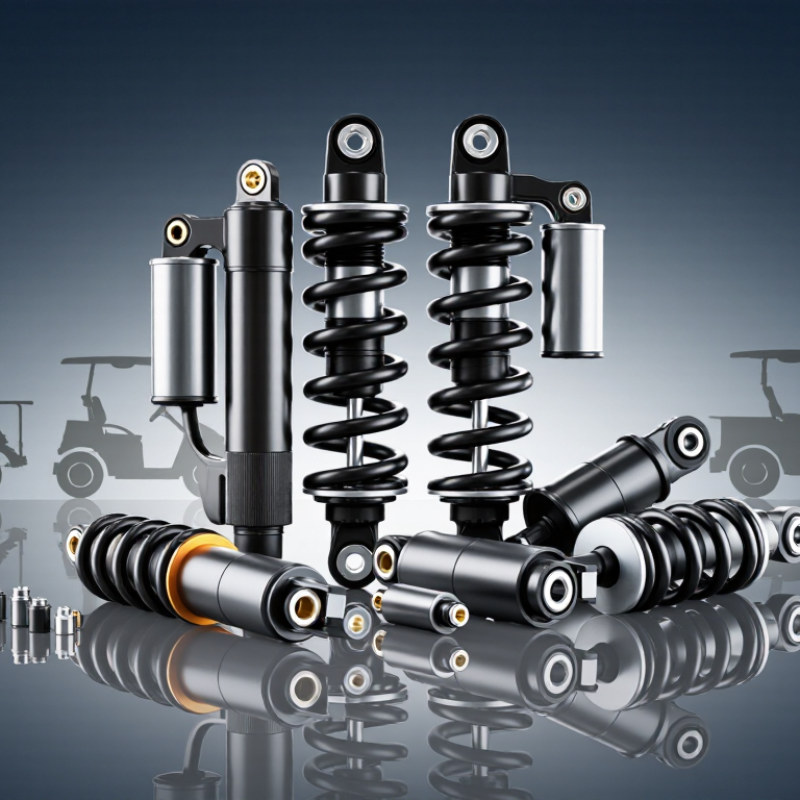
Golf cart coilover shocks combine a helical spring and hydraulic damper around one compact body. The spring supports the cart’s weight. The damper controls wheel movement after a bump. Inside, oil passes through calibrated valves, turning suspension motion into heat. This reduces bouncing on gravel, pavement, and uneven grass.
A practical setup begins with measurements. Check the shock’s eye-to-eye length, mounting width, spring rate, and available travel. Measure the cart at normal ride height, not with the wheels hanging. Too much preload can raise the body but reduce comfort. Too little damping may create a second bounce after a speed bump. That detail is easy to miss.
Allied Market Research estimated the global golf cart market would grow from about USD 1.6 billion in 2022 to nearly USD 2.9 billion by 2032. Grand View Research also reported continuing growth in low-speed electric mobility through this decade. These reports suggest wider demand, but they do not prove every coilover suits every cart. Payload, battery weight, climate, and road quality still matter.
In my experience, a coilover should be judged during real driving, not only by its advertised spring rate. A loaded rear seat changes behavior. A wet, rough route exposes poor rebound control quickly. Independent inspection remains wise, because installation errors can affect steering clearance and suspension travel.
Choosing coilover shocks requires more than comparing prices. Start with vehicle weight, passenger load, terrain, and ride height. A shock designed for a light cart may feel harsh when carrying tools or extra passengers. Check the mounting width, bolt size, compressed length, and extended length before ordering. Small measurement errors can create serious fitting problems.
Spring rate matters greatly. Softer springs improve comfort on paved paths, while firmer springs support uneven ground and heavier loads. Adjustable damping can help, but excessive adjustment may confuse new users. Look for corrosion-resistant materials when the cart operates near beaches, rain, or winter roads. Global buyers should also verify temperature performance, packaging quality, replacement parts, and local installation requirements.
For 2026 golf cart buyers, coilover shocks should match the cart’s actual work. A smooth street cart needs controlled damping and moderate spring rates. Single-tube coilovers often provide predictable handling on paved roads. They also respond well during repeated turns and braking. However, their firmer feel can seem harsh on broken surfaces.
Rough trails require longer-travel coilovers with progressive springs. The spring should soften small bumps, then resist bottoming during larger drops. Lifted carts usually need extra travel and carefully selected mounting angles. Utility carts carrying tools or passengers need heavy-duty springs, but excessive stiffness reduces comfort. I have seen owners choose maximum load ratings and regret the bumpy ride. Weight changes matter. Measure the cart’s loaded weight, ride height, and available travel before ordering.
Tips: Check coilover length at full compression and full extension. Keep several centimeters from bottoming under normal load. Adjust damping in small steps, then test the same route. Inspect spring seats, bushings, and mounting bolts after the first few trips. Local road rules may also affect lifted-cart use. A technically impressive setup can still be wrong for daily driving.
Choosing coilover shocks starts with accurate fitment, not a low price. Measure mounting points, shock length, eyelet width, and bolt diameter on the cart. Factory specifications can vary between model years, even within the same series. A nearly correct shock can still create poor handling.
Check the suspension geometry before ordering. Confirm ride height, travel range, spring diameter, and available clearance near the tire and frame. A longer shock may improve travel but cause coil bind or contact during compression. It looks fine at rest. That can be misleading.
Spring rates should match the cart’s real workload. A lightly loaded vehicle needs different support than one carrying passengers, batteries, or utility equipment. Adjustable damping can help, but it cannot fix incorrect springs. Ask for measured load data, not vague performance claims. Quality units should show consistent welds, protected seals, firm mounting hardware, and corrosion-resistant finishes for humid or coastal conditions.
Global buyers should also verify thread standards, replacement parts, packaging quality, and technical documents. Metric and imperial dimensions are not interchangeable. Confirm warranty terms and service support before payment. I have seen attractive kits fail because the supplied bushings were wrong. That small detail deserves more attention. A fitment chart is useful, but direct measurement remains the safer reference.
For 2026 golf cart coilover shocks, installation accuracy matters more than appearance. Park on level ground, engage the brake, and support the cart with rated stands. Never rely on the factory jack alone. Check the shock length, mounting width, spring clearance, and suspension travel before tightening hardware. Use the specified torque values, then mark each fastener with a paint line. This simple check reveals movement later. Set ride height evenly on both sides, but avoid excessive preload. More preload does not always mean better handling.
Maintenance should be practical and frequent. After muddy or coastal use, rinse the springs and mounts with clean water, then dry them fully. Inspect threads for rust, cracked paint, loose collars, and leaking fluid. A thin protective coating may help, but it must not touch brake components. Recheck fasteners after the first few rides. I once focused too heavily on ride softness and missed uneven tire pressure. That mistake changed the test results.
Safety and performance testing require controlled steps. Test steering, braking, tire clearance, and suspension movement at walking speed first. Then compare the cart over the same route with equal load, tire pressure, and battery condition. Record ride height, rebound behavior, stopping distance, and unusual noise. A phone video can expose body roll that the driver barely feels. Stop testing if the cart wanders, bottoms out, or develops heat around a mount. The test plan may need revision. Real conditions are rarely perfect.
| Category | Inspection or Specification | Practical Reference Data | Recommended Acceptance Check | Buyer and Technician Notes |
|---|---|---|---|---|
| Fitment | Vehicle identification | Confirm manufacturer, model year, axle type, and suspension layout before purchase. | All mounting points and clearances must match the vehicle application. | Golf carts with similar body styles can use different shock lengths and mounting hardware. |
| Fitment | Shock absorber position | Install in the original shock location unless the suspension kit specifically permits relocation. | The spring, body, and adjuster must not contact the tire, wheel, frame, brake line, or steering parts. | Check clearance at full steering lock and throughout suspension movement. |
| Dimensions | Eye-to-eye length | Measure the original shock at normal ride height and at full compression and extension. | Available shock travel must cover the suspension movement without topping out or bottoming out. | Do not select a shock by extended length alone; compressed length is equally important. |
| Dimensions | Mounting hardware | Verify upper and lower eye width, bolt diameter, sleeve length, and spacer arrangement. | Bolts must pass through the complete sleeve without binding or side-loading the shock eye. | Use correctly sized sleeves and hardened washers where required by the suspension design. |
| Spring Setup | Spring preload | Begin with equal preload on both sides of the axle and adjust in small increments. | Left-to-right ride height should remain balanced with the vehicle unloaded. | Preload changes ride height and initial resistance; it does not replace a correctly selected spring rate. |
| Spring Setup | Load planning | Account for passengers, batteries, cargo, accessories, and rear-seat conversions. | The measured axle load must remain within the cart and suspension manufacturer limits. | A heavier rear load generally requires a suspension setup designed for the additional axle weight. |
| Installation | Vehicle preparation | Park on a level surface, select neutral, apply the parking brake, and support the frame with rated stands. | Never rely on a jack alone while removing or installing coilover shocks. | Disconnect electrical power when the vehicle design or service procedure requires it. |
| Installation | Fastener tightening | Use the vehicle or suspension supplier’s specified torque values. | Torque fasteners with a calibrated torque wrench and record the final values. | Do not substitute a generic torque value for a vehicle-specific specification. |
| Installation | Bushing position | Install rubber or polyurethane bushings, sleeves, and spacers in the specified order. | Rubber bushings should normally be final-tightened at normal ride height to avoid preloading. | Follow the suspension instructions when the design uses spherical bearings or bonded bushings. |
| Installation | Post-installation movement | Cycle the suspension slowly through compression and extension before driving. | No binding, clicking, spring shift, fluid leakage, or component interference should be present. | Recheck wheel and tire clearance at full steering lock on front-suspension applications. |
| Ride Height | Baseline measurement | Measure from the same fixed chassis point to the ground on both sides. | Record measurements before installation and after the first adjustment. | Use the same tire pressure, load condition, and surface for every comparison. |
| Maintenance | Routine visual inspection | Inspect before use and after harsh terrain, water exposure, or heavy loading. | Look for oil residue, damaged seals, bent shafts, cracked springs, loose collars, and missing hardware. | Replace damaged components rather than attempting to straighten or weld shock parts. |
| Maintenance | Cleaning | Rinse off mud and salt with clean water and dry the shock before storage. | Keep abrasive dirt away from the piston rod and seal area. | Avoid aggressive solvents, high-pressure spray directed at seals, and unapproved lubricants. |
| Maintenance | Fastener recheck | Recheck mounting hardware after the first short drive and periodically thereafter. | No movement should be visible at the mounting eyes, sleeves, bolts, or adjustment collars. | The correct interval depends on terrain, vehicle use, and the suspension manufacturer’s instructions. |
| Safety | Load and speed limits | Follow the cart manufacturer’s rated payload, passenger capacity, and maximum speed. | Coilover installation must not be used to exceed the original vehicle limits. | Improved damping does not increase the rated capacity of the frame, axle, brakes, or tires. |
| Safety | Brake and steering clearance | Inspect hoses, cables, steering links, brake components, and tires after installation. | No line, cable, or steering component may be stretched, pinched, or rubbed during suspension movement. | Any interference requires immediate correction before road or trail use. |
| Safety | Spring preload adjustment | Use the supplied adjustment tool and keep both sides of the same axle reasonably matched. | Locking collars must be secure, and the spring must remain seated at full extension. | Never adjust a loaded or unsupported suspension unless the product instructions specifically allow it. |
| Weather Resistance | Corrosion protection | Prioritize coated or corrosion-resistant components for coastal, wet, or winter environments. | After exposure to salt water or de-icing chemicals, rinse and inspect all exposed hardware. | Corrosion can reduce thread strength and make future adjustment or removal difficult. |
| Performance Test | Static ride-height test | Measure ride height with the same tire pressure and test load before and after adjustment. | Left-to-right height should be consistent with the vehicle manufacturer’s setup requirements. | Perform this test on a level surface with the steering centered. |
| Performance Test | Low-speed brake test | Test braking in a controlled area at walking speed before normal operation. | The cart should stop straight without excessive nose dive, pull, clunking, or suspension noise. | A shock absorber cannot correct worn brakes, misalignment, or loose suspension joints. |
| Performance Test | Uneven-surface test | Use a short, familiar route with small bumps and gradually increase speed only when stable. | The suspension should settle without repeated bouncing, harsh bottoming, or loss of tire contact. | Stop testing immediately if steering becomes unstable or unusual noise occurs. |
| Performance Test | Full-travel clearance test | Check compression and extension with the suspension safely supported and controlled. | At no point should the shock reach a hard mechanical stop before the suspension’s intended limit. | Use the suspension bump stop and travel limits specified for the vehicle. |
| Performance Test | Temperature and leakage check | After a normal test drive, inspect the damper body and piston rod for fresh oil residue. | Light warmth is normal; visible oil leakage, damaged seals, or rapidly rising temperature requires service. | Do not touch hot components immediately after operation; allow them to cool first. |
| Global Buying | Documentation | Request installation instructions, dimensions, load guidance, adjustment range, and service information. | Technical specifications should be provided in clear metric or imperial units with conversion consistency. | Avoid products with unclear fitment data or no replacement-part information. |
| Global Buying | Shipping and compliance | Check package dimensions, customs requirements, warranty terms, and return conditions before ordering. | Confirm that the shipment includes all required springs, sleeves, spacers, collars, and adjustment tools. | Local rules may apply to modified ride height, road use, lighting, and vehicle inspection. |
| Replacement Criteria | When to replace | Replace after confirmed leakage, bent shafts, damaged eyes, broken springs, or persistent loss of damping. | The replacement unit must match the correct application, dimensions, load range, and mounting design. | Replace shocks in axle pairs when consistent damping and handling are required. |
Measure mounting width, bolt diameter, eyelet width, compressed length, and extended length. Measure twice. Compare every number with the technical drawing.
Match the spring rate to passengers, batteries, tools, and other equipment. A lightly loaded cart needs softer support. Heavy loads need firmer springs.
Softer springs usually provide a smoother ride on paved paths. They may feel less stable on rough ground. Real driving conditions matter.
Adjustable damping can improve control across different loads and surfaces. Too many settings may confuse new users. Simple adjustment is sometimes better.
It may increase travel, but clearance must be checked first. During compression, the spring could bind or touch the tire or frame.
Choose corrosion-resistant finishes, protected seals, and durable mounting hardware. Salt air can damage exposed metal quickly. Inspect the hardware regularly.
Confirm metric or imperial dimensions, replacement parts, packaging quality, technical documents, warranty terms, and service support. These details are easy to overlook.
Drive slowly and listen for knocking or rubbing. Recheck fasteners after the first few rides. Stop if handling feels unusual.
No. Correct fitment usually matters more than appearance or price. I might admire polished springs and still miss a serious travel problem.
No. They cannot repair worn bushings, bent mounts, or poor alignment. A new shock may reveal existing problems rather than solve them.
This guide to 2026 best golf cart coilover shocks for global buyers explains how coilover systems combine springs and dampers to control suspension movement, improve ride comfort, and support better handling. It examines important selection factors such as load capacity, spring rate, adjustability, shock travel, construction quality, corrosion resistance, and value. Readers will also learn which coilover types may suit different uses, including recreational driving, utility work, uneven terrain, and performance-focused applications.
The guide provides a practical global buyer’s overview of fitment, measuring suspension dimensions, checking mounting points, confirming vehicle compatibility, and understanding regional quality expectations. It also covers installation preparation, routine inspection, cleaning, fastener checks, and safe performance testing. By considering vehicle use, passenger or cargo weight, terrain, climate, and maintenance needs, buyers can select golf cart coilover shocks that deliver balanced comfort, stability, durability, and dependable long-term performance.